Pug Drawing Tutorial
Pug Drawing for Kids
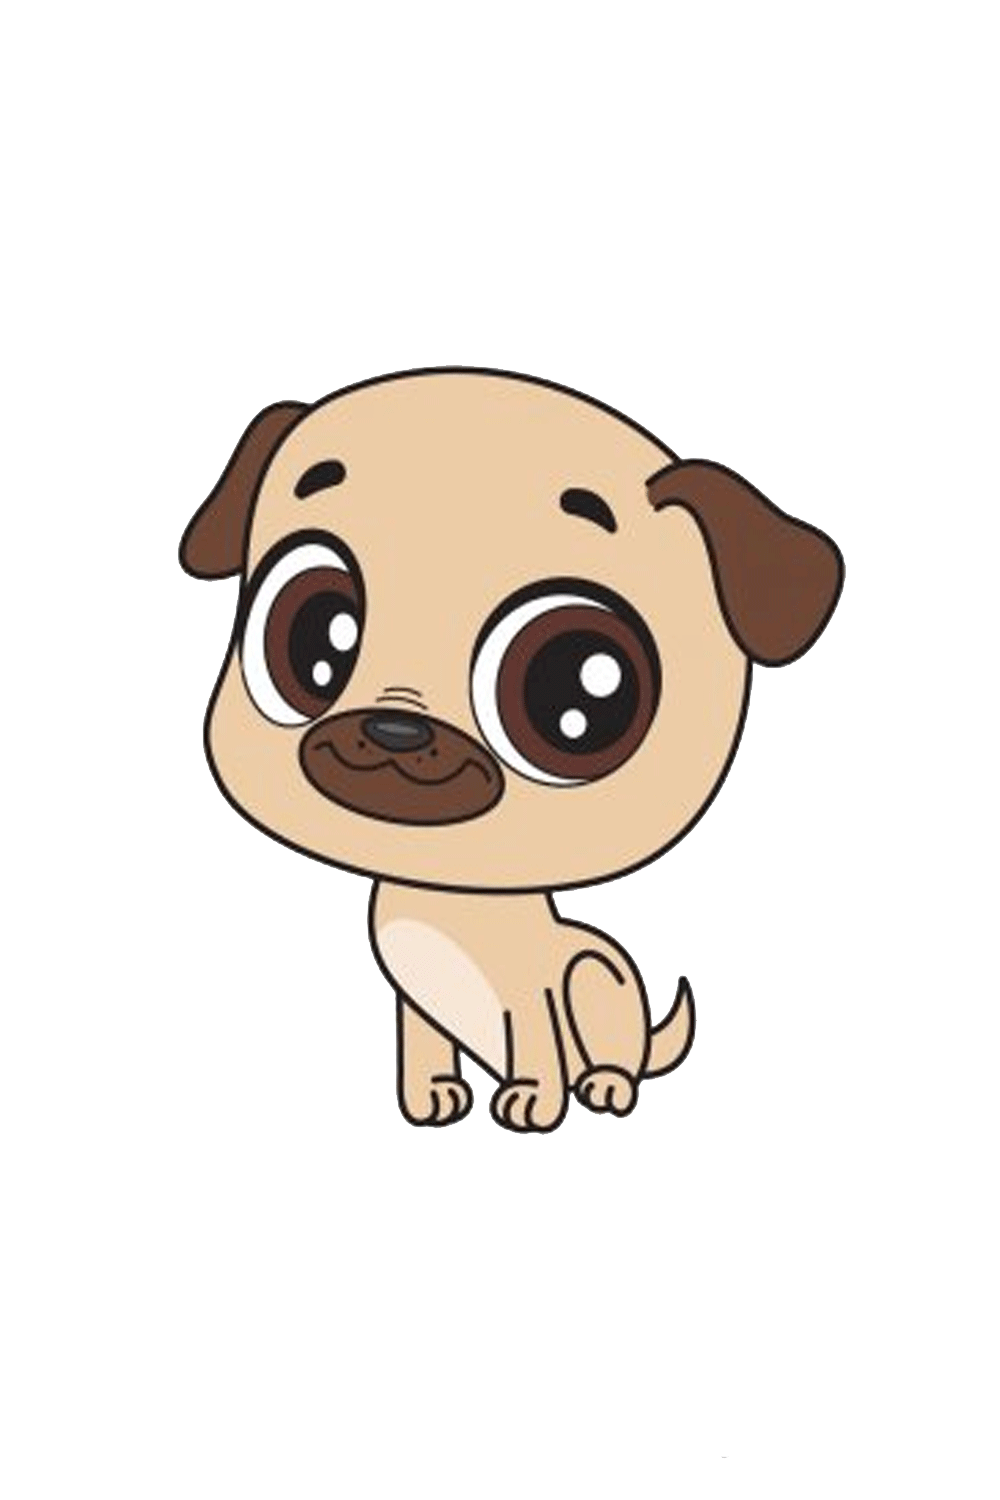
The pug is a kind of canine particularly known for its wrinkly, short-choked face and short, wavy tail. It almost is by all accounts a more unassuming interpretation of a bulldog! They may be shrewd and troublesome, yet they can similarly be warm and revering. Considering its adorable and obvious genuine features, the pug isn’t only one of the top choices while picking a pet canine, it is moreover a connecting with subject to draw. Learn this blog and visit the more drawing tutorials like Cute Pinkie Pie Drawing.
We made a little by little interaction on the most capable technique to draw a pug, made more direct with 9 fundamental advances and essential depictions. All you truly need is a piece of paper and your #1 drawing instrument and you’re all set to start drawing! Make sure to get your concealing materials too!
Stage 1 – pug drawing
Starting directly over the focal point of your paper, draw a flighty circle shape to approach the condition of the pug’s head. Highlight the stout cheeks of the pug by making it beyond question greater than the rest of the face, as shown in the layout.
Do whatever it takes not to push down unreasonably hard with your pencil while drawing the graph. It is critical to draw with a light hand so you can without a doubt destroy any lines from the outline that you at absolutely no point in the future need later on. Remember, while drawing an unforgiving representation or design, draw with light strokes.
Stage 2 – Make a Diagram of the Pug’s Head
Pugs are particularly known for their cute little wrinkle over ears, so that is the very thing we will draw in this step. Essentially draw a disproportionate shape with a fixed top and wide base to approach the right ear that is totally recognizable.
Then, at that point, draw a practically identical shape somewhat through running against the norm side to make the left ear. Make sure to annihilate the lines covering inside the ears to tidy up the shape!
Stage 3 – Then, Design the Body of the Pug
Draw a delayed shape with a round base right under the head to make the body. See that this is only the body’s outline, so guarantee you draw with a light handle to avoid severe lines that are difficult to kill! As you can find in the portrayal, the body of the pug is to some degree more unobtrusive than its head. That is because we’re drawing a liveliness or a jazzed up pug. Clearly, you’re permitted to make the body as the need might arise!
Stage 4 – Next, Draw the Front Legs of the Pug
Characterize two short vertical equivalent limits on each side of the pug’s chest. This designs both front legs of the pug. A brief time frame later, characterize a twisted limit molding a wide letter “C” at the lower part of each and every leg to make the feet. Make sure to characterize two minimal twisted limits inside each foot to make a division between the paws!
Stage 5 – As of now, Draw the Back Legs of the Pug
Draw an upside down U-formed twist with the left line longer than the other on the base back of the pug’s body. This makes the presence of a fell back leg. A brief time frame later, draw the foot with three paws at the lower part of the back leg.
Since the pug is looking sideways, only its left back leg is perceptible. Accordingly, we’ll skip drawing the opposite leg on the back.
Stage 6 – In this manner, Draw the Tail of the Pug
Pugs typically have short pointed tails, so that is the very thing that we’ll draw in this step. Make the tail by drawing a limited pointed shape on the base back of the pug’s body. In the portrayal showed over, the tail is basically raised upwards. In any case, you can similarly draw in it a twisting design if you like!
Make the nose by drawing a sideways oval shape at the base community inside the substance of the pug. This is where you will draw the nose and the mouth of the pug later in the going with progresses.
Stage 7 – System the Condition of the Pug’s Eyes
Over the structure of the nose, draw in two giant circles to make the condition of the pug’s eyes. Pugs are known for their tremendous, projecting arrangements of eyes — believe it or not, it’s maybe of their most undeniable part!
Stage 8 – Draw the Extra Facial Features
By and by, we’ll draw the other facial components to complete the look. Starting from the top to the base, go on by drawing a twisted eyebrow over each eye. Then, draw a sideways oval shape with a fairly pointed base coordinated with a W-framed twisted line inside the nose. Make sure to add little spots inside the nose for extra nuances!
Also read targetey
Stage 9 – Shade the Pug’s Eyes to Add Feeling
Like a few different characters and animals, how you cover the pug’s eyes concludes whether it will look hopeless or happy. Everything depends upon the glimmer of the eyes. Inside the design of the eyes, draw a circle shape on either side depending whereupon course you keep up with that the pug ought to look at. For this present circumstance, we drew the understudy on the right side.
In this way, draw a more humble circle inside the student to make the iris. Then, draw two extra infinitesimal circles inside the iris. As of now, disguise the entire iris except for the two microscopic circles. This makes a thrilling “sparkling eyes” influence, making the pug look exuberant! In this step, we will right now incorporate varieties our drawing — so empowering! Pugs come in four fundamental tones: dull, cower, silver stoop, and apricot. Some other assortment is an assortment of any of these or a mix of two.
Your Drawing Tutorial Is Complete. So visit the more latest drawing for kids tutorials on cool drawing idea.