Revitalize Your Native Shoes: A Comprehensive Guide on How to Clean Them
Revitalize Your Native Shoes: A Comprehensive Guide on How to Clean Them
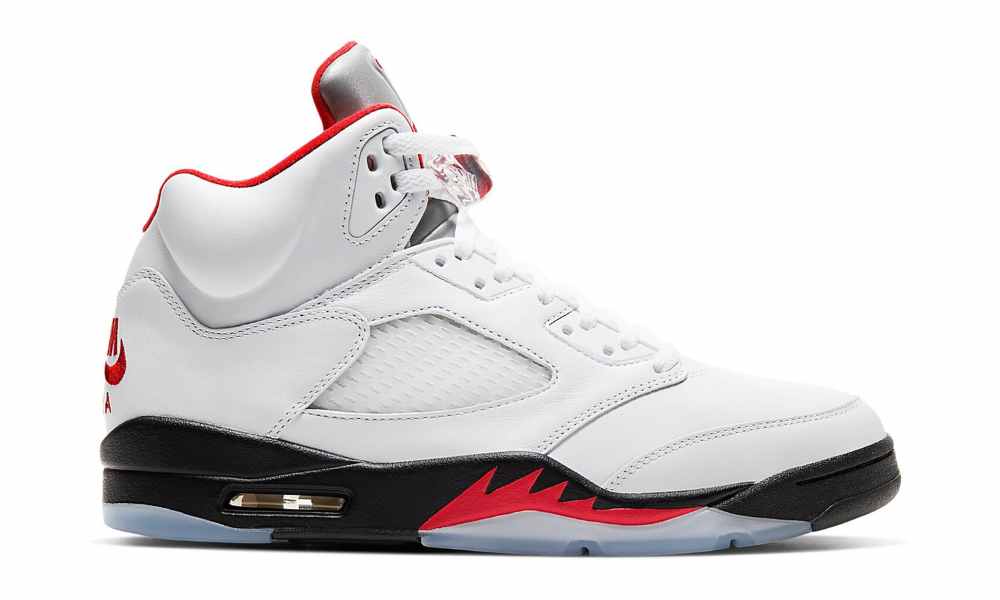
Native Shoes have become a popular choice for those who prioritize comfort, style, and sustainability. These lightweight, breathable shoes are perfect for various activities, but over time, they can accumulate dirt and stains. Fear not! This guide will walk you through the steps on how to clean Native Shoes, ensuring they look as good as new.
1. Gather Your Supplies
Before diving into the cleaning process, gather the necessary supplies. You’ll need a soft brush, mild soap or dish detergent, a clean cloth, and access to water. Make sure the brush is gentle enough to avoid damaging the material of your Native Shoes.
2. Remove Insoles and Laces
Start by removing the insoles and laces from your Native Shoes. This will make it easier to clean every nook and cranny, ensuring a thorough cleaning process. Insoles and laces can be cleaned separately, following the appropriate methods for each.
3. Shake Off Excess Dirt
Before applying any cleaning solution, take your Native Shoes outside and give them a good shake to remove loose dirt and debris. This simple step can prevent further soiling during the cleaning process. See More
4. Create a Cleaning Solution
In a bowl, mix a small amount of mild soap or dish detergent with water to create a gentle cleaning solution. Avoid using harsh chemicals or abrasive cleaners, as they can damage the material of your Native Shoes.
5. Scrub Gently with a Soft Brush
Dip the soft brush into the cleaning solution and gently scrub the surface of your Native Shoes. Focus on areas with stains or heavy dirt buildup. Use circular motions to lift the dirt without causing damage. Be patient, as a gentle approach is key to preserving the integrity of the material.
6. Clean Insoles Separately
Take this opportunity to clean the insoles. If they are removable, wash them with mild soap and water. For non-removable insoles, use a damp cloth to wipe them down. Allow the insoles to air dry completely before placing them back into the shoes.
7. Rinse Thoroughly
After scrubbing, rinse your Native Shoes thoroughly with clean water. Make sure to remove all traces of soap to prevent any residue that could attract more dirt. Use a gentle stream of water or a damp cloth to rinse the shoes completely.
8. Dry Properly
Once your Native Shoes are clean and rinsed, it’s crucial to dry them properly. Avoid using direct heat sources like hairdryers or heaters, as high temperatures can damage the material. Instead, stuff the shoes with crumpled newspaper or a dry cloth to absorb excess moisture. Place them in a well-ventilated area to air dry naturally.
9. Address Stubborn Stains
If stubborn stains persist, don’t fret. Create a paste using baking soda and water. Apply the paste to the stained areas and let it sit for a few hours before gently scrubbing with a soft brush. This method is effective for tackling tougher stains without causing damage.
10. Clean Laces Separately
While your Native Shoes are drying, clean the laces separately. Soak them in a bowl of soapy water, agitating them gently to loosen dirt. Rinse thoroughly and allow them to air dry completely before reattaching to your shoes.
11. Prevent Future Stains
To keep your Native Shoes looking fresh, take preventive measures. Consider applying a water and stain repellent spray to protect them from spills and stains. This extra layer can extend the life of your shoes and make future cleaning sessions easier.
Conclusion
Cleaning your Native Shoes doesn’t have to be a daunting task. With the right approach and a bit of care, you can keep your favorite pair looking and feeling like new. Remember to be gentle, use mild cleaning solutions, and allow your shoes to dry properly. By following these steps, you’ll not only maintain the aesthetic appeal of your Native Shoes but also ensure their longevity and continued comfort.
